Disclosure: This post contains affiliate links and I may get compensation from some of the links.

Why add sounds to google slides and seesaw?
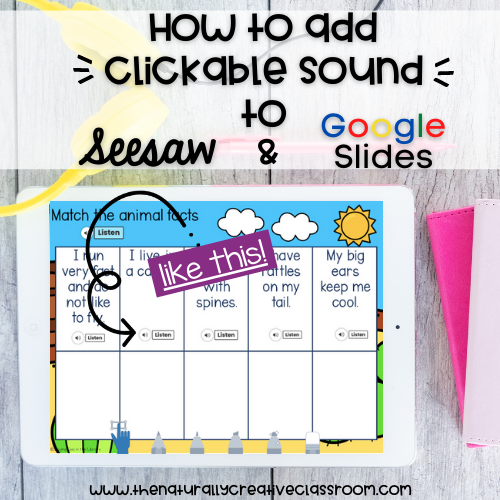
Learning how to add sounds to Google Slides and Seesaw will make you resources accessible to all students.
As an educator or parent, we all know how important it is to read to children. Not only is this important bonding time with your child, but kids who are regularly read to hear millions of words in their first five years, develop concepts of print and begin to learn the sounds of language and reading.
In school, students will begin to interact with digital books on their own beginning in preschool or kindergarten. Having clickable sound is crucial to them being able to interact with the text in a meaningful way.
When you add sound to Google Slides and Seesaw, you will:
- increase accuracy
- make tasks perfect for independent reading centers
- increase reading fluency
- make your product accessible to all students
- allow ELL students to enjoy your product
- let kids work independently
When creating products for Seesaw or Google Slides, I really like being able to add sound to each section of the instructions. This also lets students work at their own pace, and not try to remember what you said, or re-play hoping to catch the instructions again.
3 Simple steps to add sounds to Google slides and seesaw
Before I get into the “how to’s” I suggest you get a simple microphone to plug into your computer. I was using my MacBook computer microphone to start (not exactly SURE where it was, so this involved me leaning in close to the computer and shouting in), but it wasn’t great. I really like this relatively inexpensive one on Amazon. It does a great job of taking out small background noises and even the mouse click when you are done recording. The recordings sound great too!
Step 1: Recording
The first thing you need to do in order to add sounds to google slides and seesaw is record audio I use Quicktime to record my sound, but there are free recorders that can be found online for non mac users. The search term “Free Audio Recorder” has tons of free apps and sites. The Quicktime audio file is M4A which doesn’t work in Google Slides, but I have a tip for that too!
For the products I’m recording, I have first created them in Google Slides. I like to put it into “grid view” because if you click between slides in Google, the Quicktime bar disappears and this adds some extra clicks to my work.
I record ONLY what I want in that sound clip.
NOTE ON GOOGLE SLIDES: M4A files will not work with Google. You need to convert them to MP3. The best way I have found is to use CloudConvert. For a few dollars, you can get hours of conversions of many file types. I am not associated with them.
Step 2 : Inserting sound into file
Select the presentation and slide where you want to add the sound. For Seesaw, click the camera button (yes, the camera button) and choose the upload button to choose and insert the sound clip. In Google Slides, choose “insert” and choose “audio”.
Step 3: Move sound where you want it to be
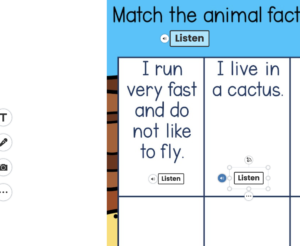
Grab the box that says “listen”, change the appearance and text if you like, and drag it to where you want it to be! You are done! Now the sound is right when students need it!

This super cute book was made by my friend of Staying Cool in the Library. You can find it and her other amazing resources here!
If you found this helpful, Join my Newsletter to be alerted of new tips and content!


